Step-by-Step Breakdown
You've discovered mold in your home. Maybe you found it yourself, or an inspector flagged it, or testing confirmed what you suspected. Now you're facing professional mold remediation—and you probably have questions about what that actually involves.
Mold remediation isn’t just “cleaning up mold.” It’s a systematic process designed to remove contamination, prevent spread, and address the conditions that allowed mold to grow in the first place. Here’s what happens at each stage so you know what to expect.
Before Work Begins: Assessment and Planning
Professional mold remediation starts before anyone picks up a tool. The first step is understanding exactly what you’re dealing with.
Initial assessment involves a thorough inspection of the affected area and surrounding spaces. Remediation professionals look for visible mold growth, water damage, moisture sources, and signs that contamination may have spread beyond the obvious areas. Learn about How Professionals Detect Hidden Mold behind walls and under floors. In some cases, this includes using moisture meters to check behind walls or under flooring where mold might be growing out of sight.
If testing hasn't already been done, mold testing may be recommended to identify the types and concentrations of mold present. Learn more: Do I Need a Mold Test? This information helps determine the appropriate scope of work and safety protocols. For larger projects, testing also establishes a baseline that can be compared against post-remediation clearance testing.
Based on the assessment, a remediation plan is developed. This outlines the scope of work, containment strategy, removal methods, and timeline. For significant mold problems, this plan should be documented and shared with you before work begins.
Containment: Preventing Spread
One of the most important—and often misunderstood—aspects of professional mold remediation is containment. Mold spores are microscopic and easily become airborne when disturbed. Without proper containment, removing mold from one area can spread contamination throughout your home.
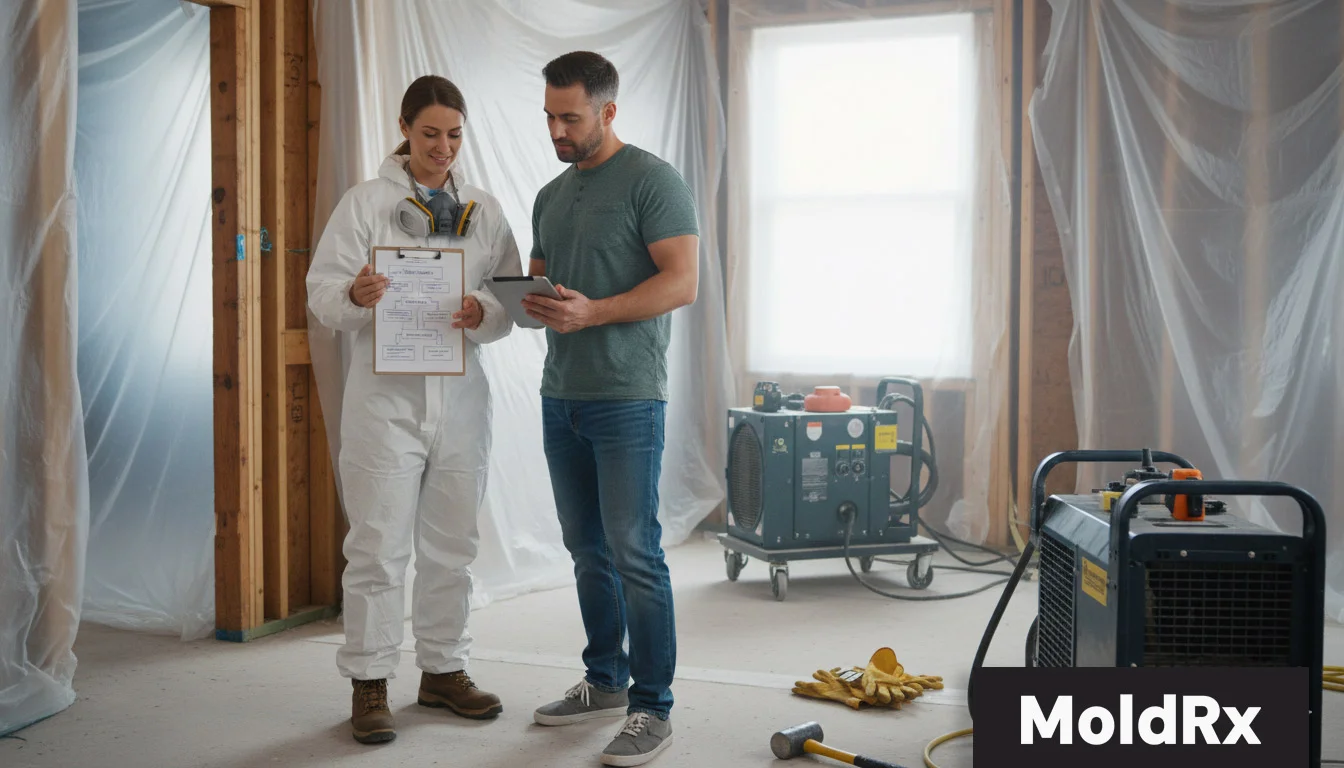
Containment typically involves sealing off the work area using plastic sheeting. For smaller projects, this might be simple barriers. For larger remediation jobs, professionals construct a full containment chamber with sealed seams and a separate entry/exit point.
Negative air pressure is established within the containment area using air scrubbers or negative air machines. These devices pull air through HEPA filters and exhaust it outside the containment zone, preventing contaminated air from escaping into the rest of your home. You may notice the plastic sheeting pulling slightly inward—that’s the negative pressure working as intended.
HVAC systems serving the affected area are typically shut down or isolated to prevent spores from circulating through ductwork to other parts of the building.
Removal: Taking Out Contaminated Materials
With containment established, the actual removal work begins. What this looks like depends on the materials affected and the extent of contamination.
Porous materials that have absorbed mold—such as drywall, insulation, carpet padding, and heavily contaminated ceiling tiles—generally cannot be effectively cleaned. These materials are carefully removed, bagged in sealed containers, and disposed of as contaminated waste. This is often the most visibly disruptive part of remediation, as you may see sections of drywall, insulation, or flooring being removed.
Semi-porous materials like wood framing can sometimes be cleaned and treated rather than replaced, depending on the depth of contamination and the type of mold involved. Professionals use various methods including HEPA vacuuming, wire brushing, and sanding to remove surface contamination from structural elements.
Non-porous materials such as metal, glass, and hard plastics can typically be cleaned and retained. These surfaces are wiped down with appropriate antimicrobial solutions and HEPA vacuumed.
Throughout removal, workers wear personal protective equipment including respirators, protective suits, and gloves. This protects them from exposure and prevents carrying contamination outside the work area.
HEPA Filtration and Air Cleaning
Air quality is a critical concern during and after mold removal. HEPA (High-Efficiency Particulate Air) filtration is used throughout the process to capture airborne mold spores.
Air scrubbers equipped with HEPA filters run continuously during remediation, cycling the air within the containment area multiple times per hour. These devices capture particles as small as 0.3 microns—small enough to trap mold spores, which typically range from 1 to 30 microns in size.
HEPA vacuums are used to clean surfaces, removing settled spores that would otherwise become airborne again when disturbed. All debris and removed materials are HEPA vacuumed before being bagged and removed from the containment area.
After removal work is complete, air scrubbers typically continue running for a period to capture any remaining airborne contamination before containment is removed.
Antimicrobial Treatment
Once contaminated materials are removed and surfaces cleaned, antimicrobial treatments are applied to remaining structural elements. These treatments serve two purposes: killing any remaining mold that wasn’t removed through physical cleaning, and helping prevent future growth on treated surfaces.
The specific products used vary, but professional-grade antimicrobials are designed for use on building materials and are applied according to manufacturer specifications. Some treatments are applied as sprays; others may be fogged throughout the containment area to reach surfaces that are difficult to access directly.
It’s worth noting that antimicrobial treatment is not a substitute for proper removal. You can’t simply spray mold and consider the problem solved—physical removal of contaminated materials is essential.
Addressing the Moisture Source
Here’s something important: mold doesn’t grow without moisture. If the water source that caused mold growth isn’t identified and corrected, mold will return regardless of how thorough the remediation is.
Professional remediation should include identifying the moisture source—whether that's a roof leak, plumbing failure, condensation issue, poor drainage, or humidity problem. Sometimes this is obvious; other times it requires investigation.
Fixing the moisture source may be part of the remediation project, or it may require coordination with other contractors or water damage restoration specialists. Either way, remediation isn't complete until the conditions that allowed mold to grow have been corrected.
Clearance Testing and Verification
How do you know remediation was successful? Clearance testing provides objective verification that contamination has been effectively addressed.
After remediation is complete and before containment is removed, an independent party—typically not the company that performed the remediation—collects air and surface samples from the work area. These samples are analyzed by an accredited laboratory and compared against samples from unaffected areas of the building and outdoor air.
Successful clearance means that mold spore concentrations in the remediated area are comparable to or lower than unaffected areas and outdoor air. If clearance testing fails, additional remediation work is performed and testing is repeated.
Clearance testing is particularly important for insurance claims, real estate transactions, and situations where documentation of successful remediation is needed.
Reconstruction and Restoration
Mold remediation often involves removing building materials—drywall, insulation, flooring, and sometimes structural elements. Reconstruction is the process of putting your home back together after remediation is complete.
This may include installing new drywall, insulation, flooring, trim, and paint. Depending on the scope of the project, reconstruction might be handled by the remediation company or by separate contractors.
Reconstruction typically doesn’t begin until clearance testing confirms successful remediation. This ensures you’re not closing up walls that still have contamination issues.
What You Should Expect as a Homeowner
During professional mold remediation, you can expect clear communication about the scope of work, timeline, and what areas of your home will be affected. You should receive documentation of the work performed and clearance testing results.
Depending on the location and extent of contamination, you may need to temporarily relocate during remediation—particularly if work involves areas like bedrooms or if you have family members with respiratory sensitivities.
The process can take anywhere from a day for small, contained problems to a week or more for extensive contamination. Your remediation professional should provide a realistic timeline based on your specific situation.
Questions About Mold Remediation?
MoldRx coordinates professional mold remediation services throughout Orange County, Riverside County, and San Bernardino County. Our vetted specialists follow IICRC S520 standards and work with independent testing companies for clearance verification.
If you’re facing a mold problem and want to understand your options, contact MoldRx for honest guidance about what remediation involves and what it will take to address your specific situation.